A Starter Guide for Small Clothing Labels
Your merch can use the best fabric on the market and still sit unsold if the photos fall flat. For a small clothing label, product photography decides whether a listing converts or gets scrolled past.
There is a gap between how a garment feels in hand and how it reads on a screen. A premium-weight tee can look thin and cheap under bad light.
This guide shows you how to close that gap without a studio budget, so your images match what you ship.
Why Product Photography Makes or Breaks Your Apparel Brand
That first impression sets their expectation for quality, fit, and value.
Sharp, well-lit images signal retail-grade product at a glance. Buyers read clean composition and true colour as proof the garment is worth the price. Weak photos do the reverse. They drag down conversion and drive up returns when the delivered product looks nothing like the listing.
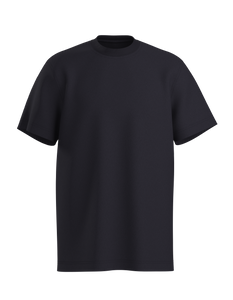
Treat photography as an extension of product quality. A 240 GSM organic cotton tee deserves images that show the construction, shape, and surface details behind what makes a premium blank T-shirt, not shots that flatten it into something forgettable.
The Gear You Actually Need to Get Started
You do not need a full studio to shoot clean apparel photos. A modern smartphone handles most ecommerce listings fine. An entry-level camera gives you more control over depth and detail if your budget allows it.
Natural light from a large window is your cheapest reliable source. A basic softbox adds consistency when daylight turns unpredictable, which matters once you shoot across several days. You can build a simple product photography setup around controlled lighting, a clean background, and repeatable camera positioning.
Three items earn their place at a first shoot. A tripod keeps framing sharp and repeatable. A clean backdrop holds consistent colour. A steamer removes wrinkles. Spend here before anything else.
Preparing Garments Before You Shoot
Prep decides how professional your final images look. Steam every garment and pick off lint before the camera comes out, because both show clearly on screen.
Before photographing the full range, evaluate apparel samples for fit, colour, stitching, wash performance, and decoration consistency. Photography should happen only after you know the product matches the quality you plan to show.
Fabric weight photographs differently, so plan for it. A 240 GSM organic cotton tee holds structure and casts subtle shadows that read as quality. A 210 GSM jersey drapes more softly and needs framing that shows its movement rather than forcing it to sit stiff.
Pin and style each piece to control drape and shape. Keep styling consistent across the full product line so your catalogue looks like one brand, not a pile of unrelated listings.
Flat Lay vs Model Photography for Apparel

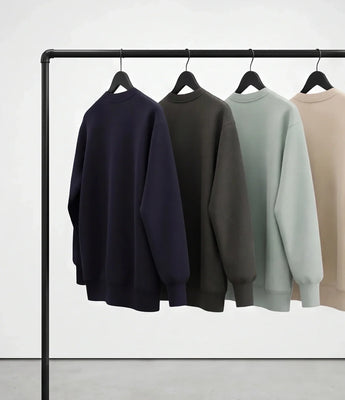
Both approaches sell. The right choice depends on what the image needs to say. Flat lays work for catalogue grids and detail shots, giving you clean, controlled documentation of every product.
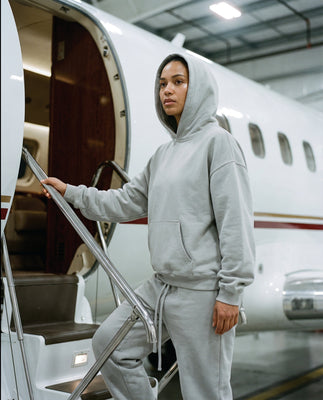
Model shots communicate fit, drape, and lifestyle in a way flat lays never manage. They cost more and scale slower, but they answer the buyer's biggest question. How does this look on a real body?
Combine both in a single listing. Lead with a model shot for context, then back it with flat lays and detail crops.
Getting Flat Lays Right
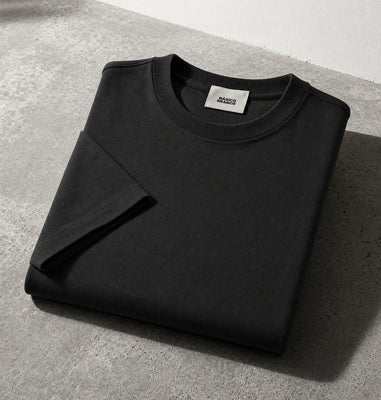
Shoot from directly overhead with even lighting to avoid distortion. Keep the angle square and the surface flat.
Use props sparingly and leave negative space around the garment. Clean composition keeps attention on the product, not the styling.
Working With Models on a Budget
Direct fit, posture, and movement clearly so the garment sits the way it should. Small shifts in shoulders and stance change how the fabric drapes.
Capture the garment behaving on a real body, including how it moves. That shows buyers the fit they can expect.
How to Photograph T-Shirts for Your Brand
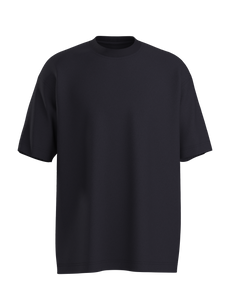
T-shirts hold more detail than they let on, so shoot them deliberately. Capture the neckline, seams, and print with close, sharp crops that prove build quality.
Show drape and fit from several angles: front, back, and a three-quarter turn. That gives buyers a complete read on how the shirt sits.
Highlight your decoration finishes directly. DTG prints show soft, integrated detail. DTF holds sharp edges. Embroidery adds visible texture. Document private-label tags and interior branding, too, since those details signal a finished, retail-ready product.


Lighting and Colour Accuracy That Match the Real Product
Accurate colour is the single biggest driver of buyer trust. Use a neutral reference to set an accurate white balance before photographing the full collection, so the fabric colour on screen matches what ships.
Avoid harsh shadows that hide texture and seams. Even, diffused light keeps detail visible across the whole garment.
When your images match the delivered product, returns drop. Buyers who get exactly what they saw stay confident and order again.
Building a Repeatable Content Photography Workflow
A repeatable workflow lets you scale without losing consistency. Lock in standard camera settings, lighting positions, and framing templates, then reuse them across every shoot.
Batch shooting handles large collections. Set up once, then work through products in sequence to save hours per session.
Name files clearly and organize assets by product and shot type from the start. Build your image dimensions, resolution, and framing standards around the product image requirements of the sales channels you plan to use.
Apply the same editing profile across the catalogue. Consistent framing, styling, backgrounds, and colour treatment help you create a cohesive branded apparel line across product pages and campaign assets.
Common Mistakes Small Labels Make

Most photography problems trace back to a few repeat errors. Inconsistent backgrounds and lighting across products break the cohesion of your catalogue.
Over-editing is another common trap. Pushed saturation misrepresents fabric colour and triggers returns when the real product arrives looking different.
Skipping detail shots of tags and prints leaves buyers guessing about quality. The most fixable mistake is starting with poor blanks that photograph flat no matter how good your setup is.
FAQs
Can I take professional clothing photos with a smartphone?
Yes. A modern smartphone, stable tripod, clean background, and soft natural light can produce strong ecommerce images.
Should apparel listings use flat lays or model photos?
Use both. Model photos show fit and drape, while flat lays and detail shots document construction, colour, and decoration.
How do I keep garment colours accurate in photos?
Use consistent lighting, set the white balance with a neutral reference, and avoid heavy editing that changes the fabric colour.
Start With Apparel Worth Photographing
Strong lighting can reveal quality, but it cannot create structure, fit, or texture that is not already there. Basico Branco gives small clothing labels premium Portuguese blanks, decoration, private labelling, and flexible ordering through one reliable production system.
Build listings that look credible because the garments behind them are credible by starting with Basico Branco’s wholesale apparel program.